Athabasca University | AU Student/Staff Login | Invited Guest Login

Circuit 5C: Autonomous Robot
Circuit 5C: Autonomous Robot
My Autonomous Robot Adventure:
Parts in Play:
For this experiment, I gathered my RedBoard, breadboard, jumper wires, motor driver, motors (both left and right), a switch, and the trusty HC-SR04 distance sensor. Oh, and don't forget the scissors (not included) and 4 AA batteries (not included).
Building the Robot:
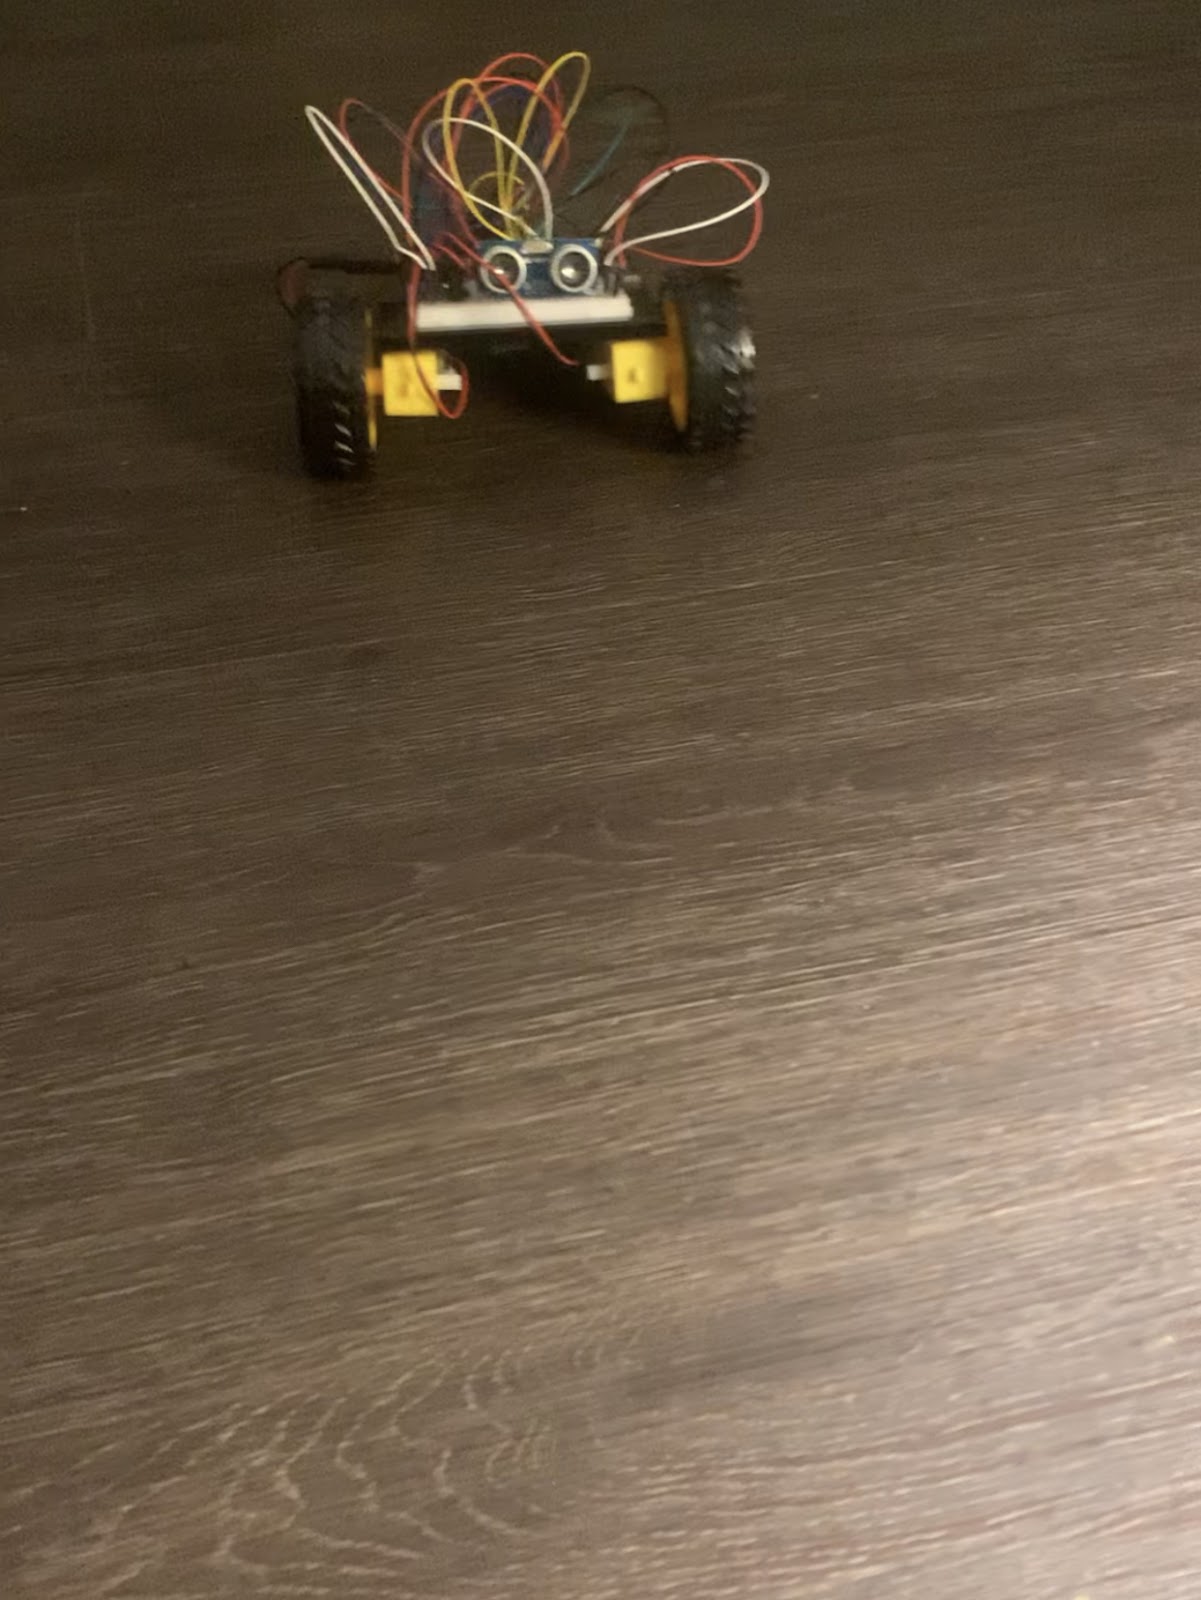
The first step was getting my robot ready. I attached the battery pack to the baseplate using the Dual Lock provided. If I hadn't attached it in Project 4, I cut two pieces of Dual Lock, stuck one to the back of the battery holder, and the other to the bottom of the baseplate. A satisfying press, and my robot was ready to roll, literally!
Wiring the Circuit:
With my robot assembled, it was time to get into the nitty-gritty of the circuit. Following the provided hookup table, I connected everything to the RedBoard and breadboard. The distance sensor was particularly crucial – it needed a clear path for accurate readings. I made sure it was free from any wire interference.
Diving into the Code:
Next up was the coding part. I opened the Arduino IDE, made sure the switch was OFF, and navigated to File > Examples > SIK_Guide_Code-master > SIK_Circuit_5C-AutonomousRobot. Copy-pasting the code into the IDE, I felt like a coding maestro. A quick upload to the RedBoard, and we were ready for action.
Observing the Robot's Behavior:
With the switch flipped ON, my robot sprang to life! It cruised forward elegantly, but the real magic happened when an obstacle appeared. The distance sensor did its job – the robot gracefully stopped, reversed, executed a slick turn, and then resumed its forward journey. It was like a mini self-driving car, and I was its proud creator.
Fine-Tuning and Challenges:
The experiment didn't end there. I took on the challenges presented – tweaking the obstacle reaction distance and modifying the robot's behavior. It was an exercise in creativity and problem-solving, and it felt empowering to see my robot respond differently to its environment based on my code changes.
Navigating the Challenges:
Of course, no experiment is without its hiccups. I encountered issues like unexpected motor behavior and slow movement. Each problem was a puzzle to solve. Checking wiring, adjusting sensor positions, and ensuring the batteries were juiced up did the trick.
Lessons Learned:
Through this project, I delved into the world of autonomous vehicles on a micro-scale. The concept of using a distance sensor to avoid obstacles isn't just confined to my little robot – it's the same principle used in Mars rovers and self-driving cars! The possibilities felt endless.
Closing Thoughts:
As my robot confidently roamed around, reacting to its surroundings, I couldn't help but marvel at the power of coding and electronics. It was more than just a project; it was a glimpse into the potential of autonomous systems, and I was the architect of this small, but mighty, mechanical creation.
- Assignment 2 Weblog

October 2, 2023 - 5:57am
Victor Okpube - Motor Basics

November 1, 2023 - 12:03am
Victor Okpube - Circuit 5B: Remote-Controlled Robot - Unleashing Robotic Mobility
November 1, 2023 - 12:08am
Victor Okpube - Circuit 5C: Autonomous Robot
November 1, 2023 - 12:18am
Victor Okpube